
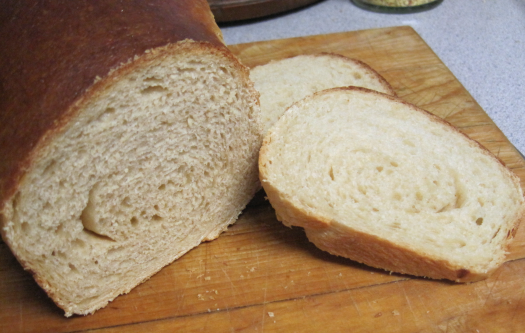
Very similar to Asian Milk Bread, this isn’t your typical sourdough. Slightly flaky and somewhat sweet, it can be eaten hot from the oven, which is nice, since it goes stale in 24 hours. Use the stale bread to make homemade “Panko” bread crumbs.
When I’m sick, I often use sourdough to make my own living “probiotics.” Sourdough, being fermented with my own wild yeasts, always has lots of “probiotics” even plain, but I usually follow my grandmother’s “remedy” for the family gut problems and make a very thick milk gruel, toss in enough barley malt syrup to make it taste edible, stir in some of my sourdough starter, and let that mess bubble on my counter — eating a tablespoon or two every day. Of course my grandmother had never heard of “probiotics,” but that’s what it is and adding the cooked milk mixture simply increases the lactulose bacilli that’s already in the sourdough starter. Live barley malt syrup (the type used to make beer) has another type of “probiotic” bacilli in it, also naturally occurring in sourdough starter. Combining the milk gruel, barley malt, and sourdough just shifts the percentages of the various “probiotics” that already occur in a living colony of wild yeasts. I don’t usually think about such things. To me it’s always just been “Grandma’s homemade gut medicine” and in the 1950’s and 1960’s several doctors tried very hard to convince me it was a worthless folk remedy. So I quit telling them (or anyone else) about it, accepted their steroids, and used Grandma’s home remedy anyway. I never thought about it in terms of making bread…. (At the time I’d get frozen “ice cubes” of gut remedy directly from Grandma. Probiotic bacteria can withstand freezing without problem, but it can’t survive the high temperatures of cooking.)
When searching the internet for some bread recipe I could translate into sourdough for this post I was rather shocked when I saw Milk Bread (both Chinese and Japanese) start by making the same “gruel” of flour and milk contained in Grandma’s gut medicine. And I usually like bread that contains dry milk or barley malt syrup. I use both ingredients regularly.
I was deep in the organic chemistry book, checking things out, when my husband asked why I wanted him to use Panko bread crumbs on the skinned chicken breasts he planned to fry for dinner. What makes Panko bread crumbs different? So I looked them up. They’re made from Japanese milk bread minus the crusts!
So that settled the question of what type of bread I’m making. It’s
Sourdough Milk Bread (makes one small loaf)
Combine in a small saucepan:
45 grams bread flour (hard flour)
110 grams whole milk
Stir until all the lumps are worked out, then heat on the stovetop, stirring constantly until mixture begins to thicken. (It will become much thicker as it cools, so don’t overcook.) Immediately add 1 Tablespoon Barley Malt syrup and keep stirring until mixture is a thick paste and barely warm,

then add 135 grams of very active sourdough starter. Stir until smooth. Add 1 very large egg, and stir until smooth. It should now be about the consistency of thick cake batter. Set saucepan of liquids aside for at least 30 minutes.
Measure 300 grams of flour and 1 teaspoon of salt into your mixing bowl, then cut in 2 Tablespoons of butter – just as you would if you were making pie dough.
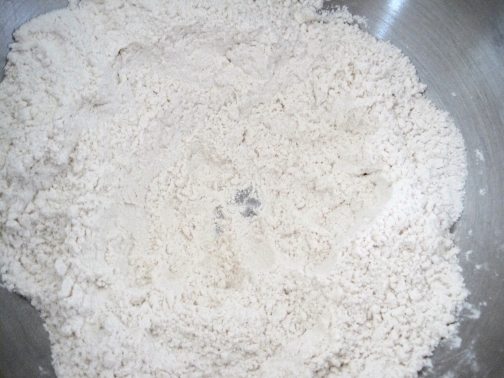
Pour the liquid mixture into the flour mixture and mix until fully combined. This is much easier said than done, but, yes, all of the flour mixture can, eventually be worked in if you use your fingers. It’s a flaky broken mess at first, but eventually you can make a dry, breakable ball and all the flour is gone. This dough is not sticky at all.
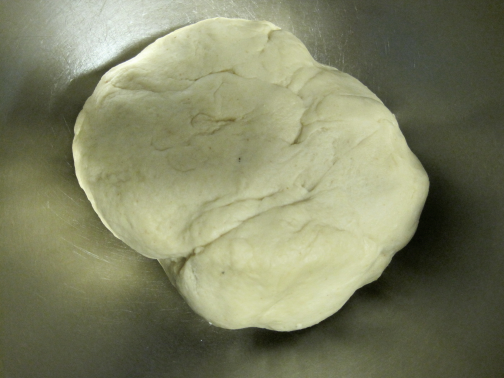
Knead very well. (It took more than 10 minutes in my stand mixer (after it finally formed the breakable ball) to become smooth and silky. It’s still not sticky.
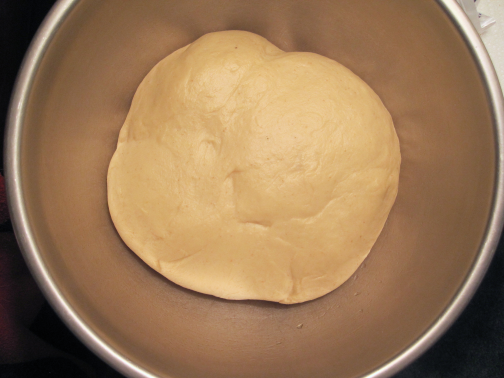
Put in a lightly oiled bowl, cover the bowl tightly and let it rise until almost doubled in size.
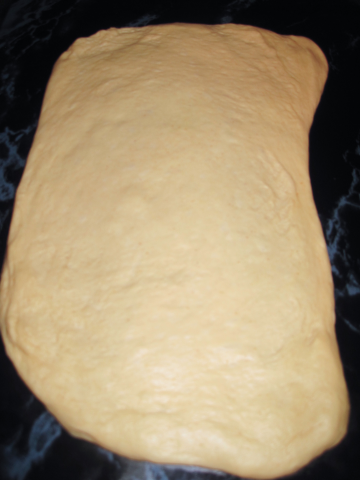
To shape the dough:
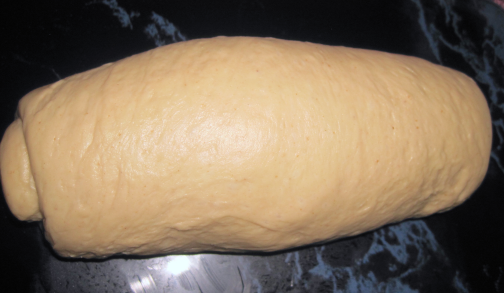
Cover the bread pan with plastic wrap, or put the bread pan in a tightly closed plastic bag. Put the well wrapped pan in the refrigerator overnight or until the bread has barely risen to the top of the bread pan. Remove from the refrigerator and let it return to room temperature. (Don’t worry if it looks a little flat – there’s going to be a lot of oven spring!)
Preheat the oven to 400°F , lightly brush the top of the bread with egg wash, put the bread in the oven, and immediately lower the temperature to 375°F. Bake for 35-40 minutes or until bread is golden brown and the bottom, when tapped sounds hollow. Internal temperature of the bread, as measured by a probe thermometer should be 195°F.
Cut and eat as soon as the bread is cool enough to handle comfortably.
Note: To make Panko style bread crumbs, wait for the bread to become stale enough to grate, peel away the crust, and grate onto a large flat pan. Spread the crumbs out and bake in a 200°F oven until completely dry. (Don’t let them get brown!) Or don’t bake, and just let them dry out.
